My neighbor runs a little vacation rental and is always forgetting the password for the guest WIFI. It seems that sticky notes are just too easy to lose, so I set out to make something a little more permanent to keep the login info on. Since I was going to the trouble of making something, I tried to add a little touch of fun to the design. As you will see, the final design ended up taking on a life of its own, spurring a second project and then dreams of something bigger.
The Plan

I broke the design into two parts, one for function, and the other for fun. The principal function would be served by a 3D printed plaque inscribed with the login info as well as QR code that can be scanned to automatically logon. The fun part would be an eye-catching stand for the plaque that would draw in the user and bring a pop of style to the room.
The design of the stand was based around my neighbor’s personal tastes. I drew inspiration from his love of the American 60s: a time of color TV, groovy fashion, and hippies. To channel this I brough in bright colors, a corduroy texture, and a splash of psychedelic style.
Drafting
The CAD for this model was simple, so I’ll dive into the methodology more than usual. The process started with drawing the cross-section of the plaque and the stand as spline curves.
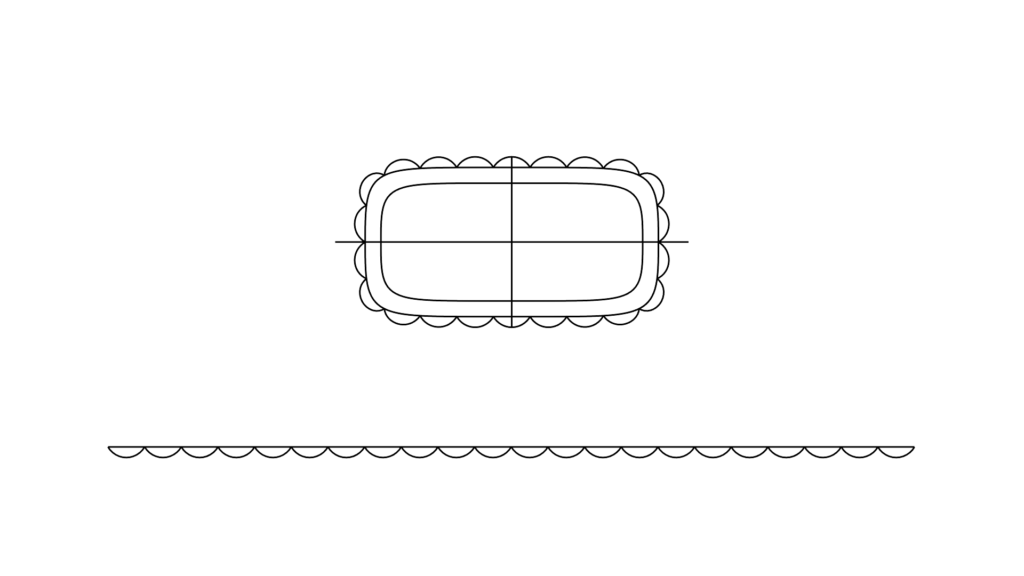
The next step was drafting the side profile. Having already roughed out two side profiles in the ideation phase, I picked the second option.

With the curves complete, I could start to build the surfaces. I made all the straight sections by extruding the existing curves. The bent surfaces were made by blending between extruded surfaces.
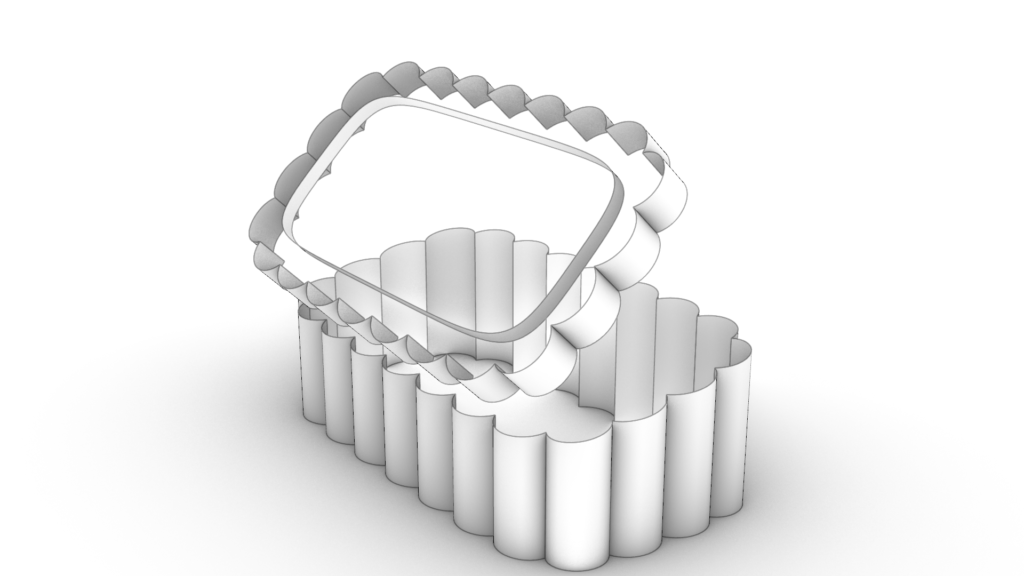
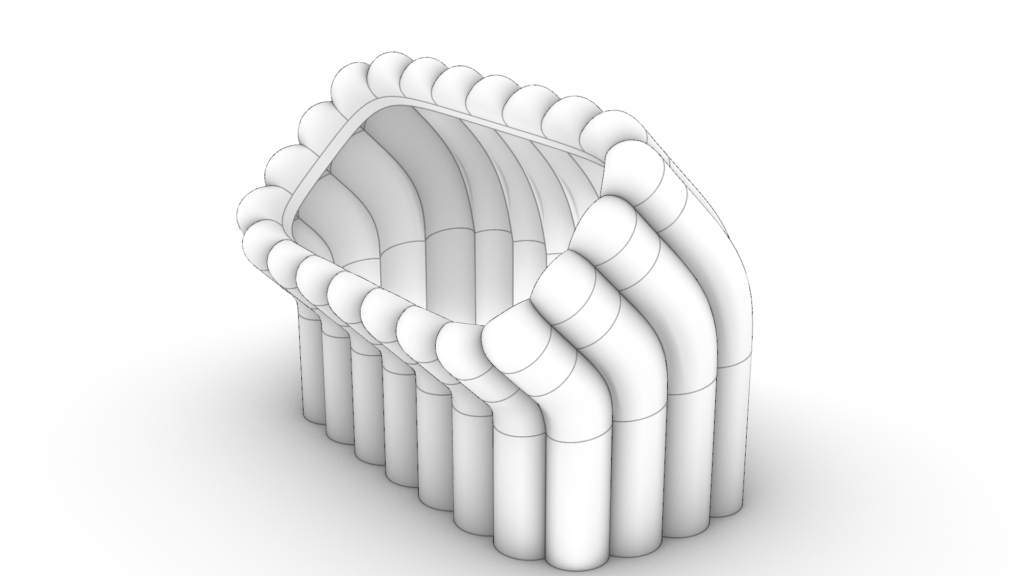
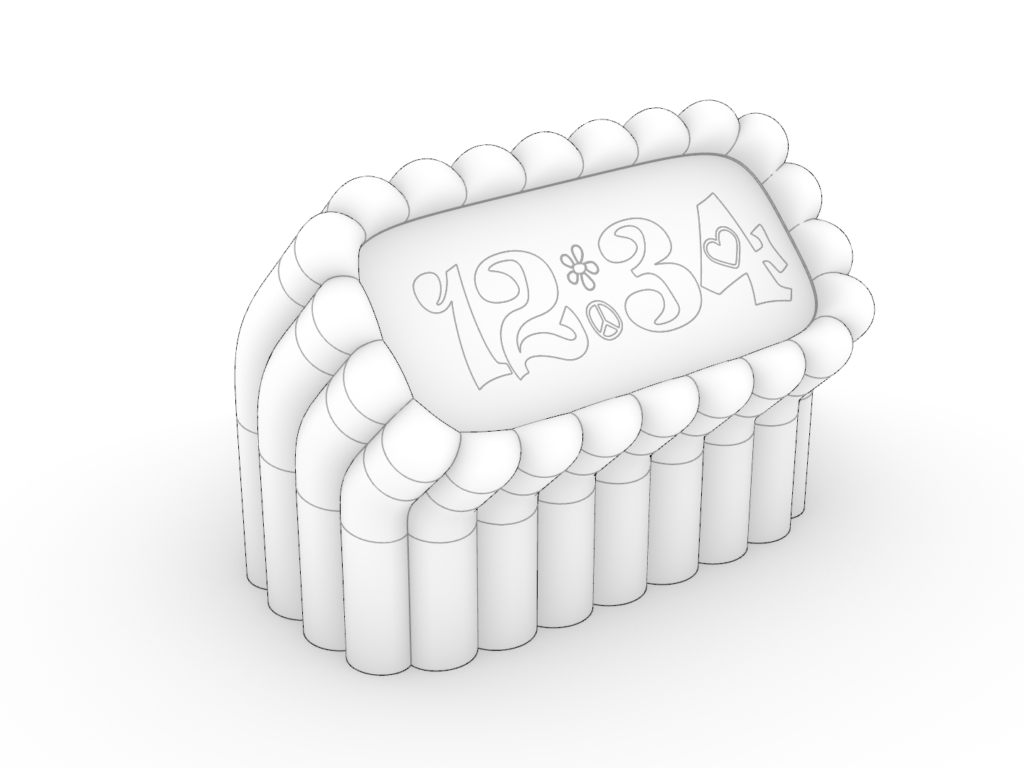
From there I just needed to lay up the text and QR code for the plaque, and voila!
Nice.
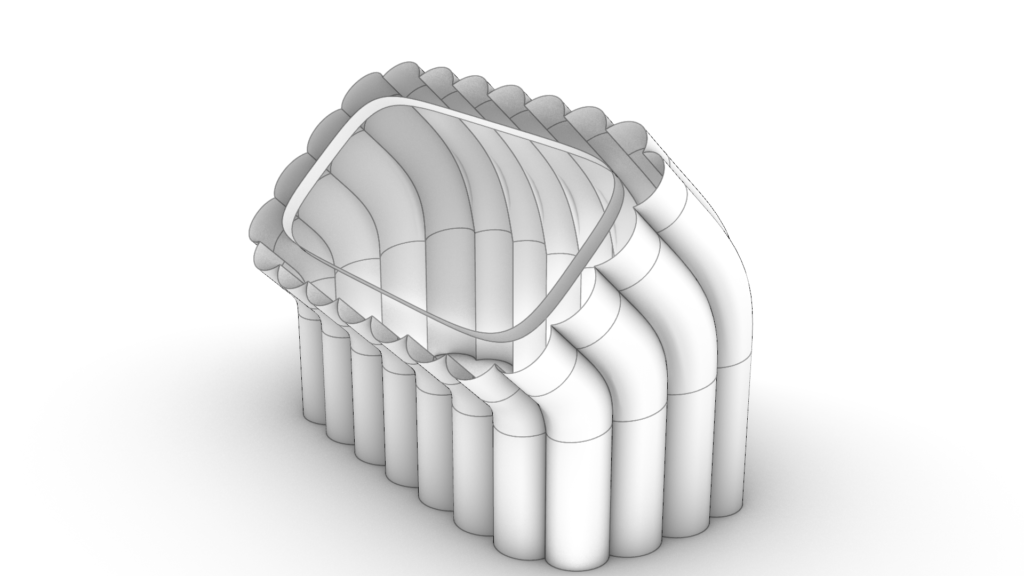
From the beginning of the drafting process, I was planning to experiment with the surface blend tool. A more conventional approach might have been to use a tool that’s guaranteed to preserve the cross-section, like a “sweep.” I felt a sweep was too stiff in this case, as it wasn’t producing the side profiles I wanted for the bent surfaces. In this case, the surface bend did well enough at preserving the cross-section around the bend with minimal manual adjustments from me. I think this model is a nice example of how a design can grow naturally from thoughtfully planned NURBS geometry. From this, I’d expect the style of this model to be easily repeatable. Corduroy for all!
Reception
My neighbor was totally psyched. He loved the shape, colors, functionality, the whole deal. Here’s how it looks in the rental:


He noted that guests seemed to like it too. He mentioned this matched the changing trend in his guest’s preferences. He explained that guests now want to be autonomous during their stay and he lamented the loss of personalized hospitality. Soon he was coming up with all kinds of ideas of uses for these little plaques around the rental, such as having a QR code to an online self-check-in. An interesting project I might come back to another time.
Alarm Cock
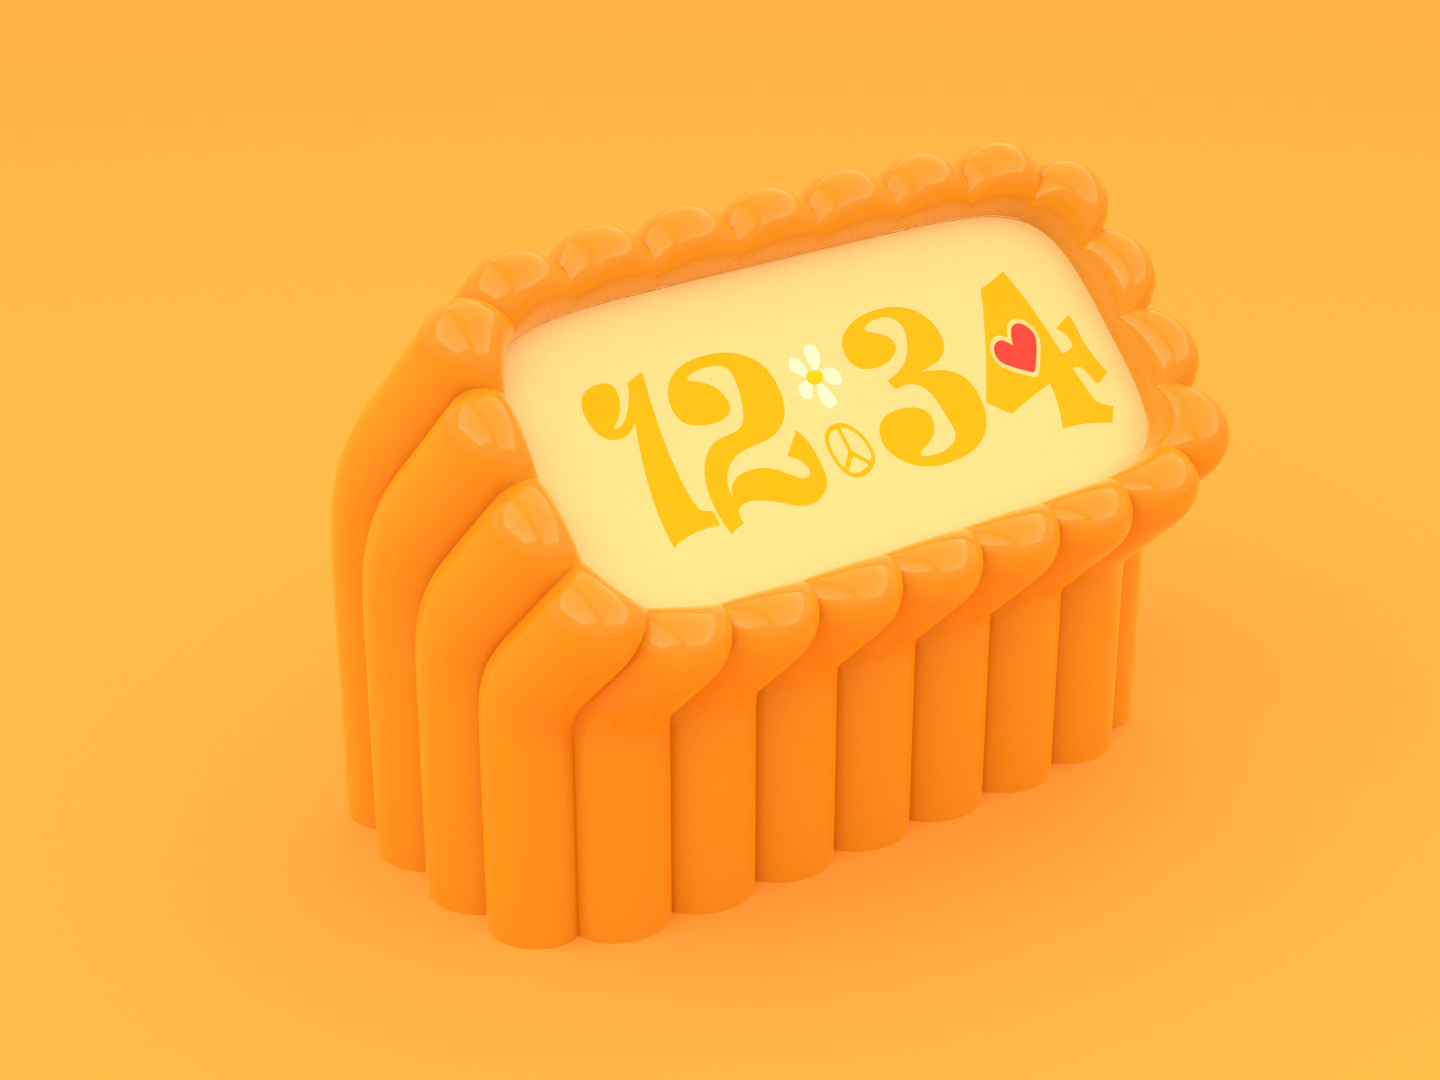
Riding high off my neighbor’s enthusiasm, I found myself wondering what else I could do with this design. I tossed a few ideas around for it and decided it could make one groovy alarm clock.
I drew a few stylized clock faces to see what worked.


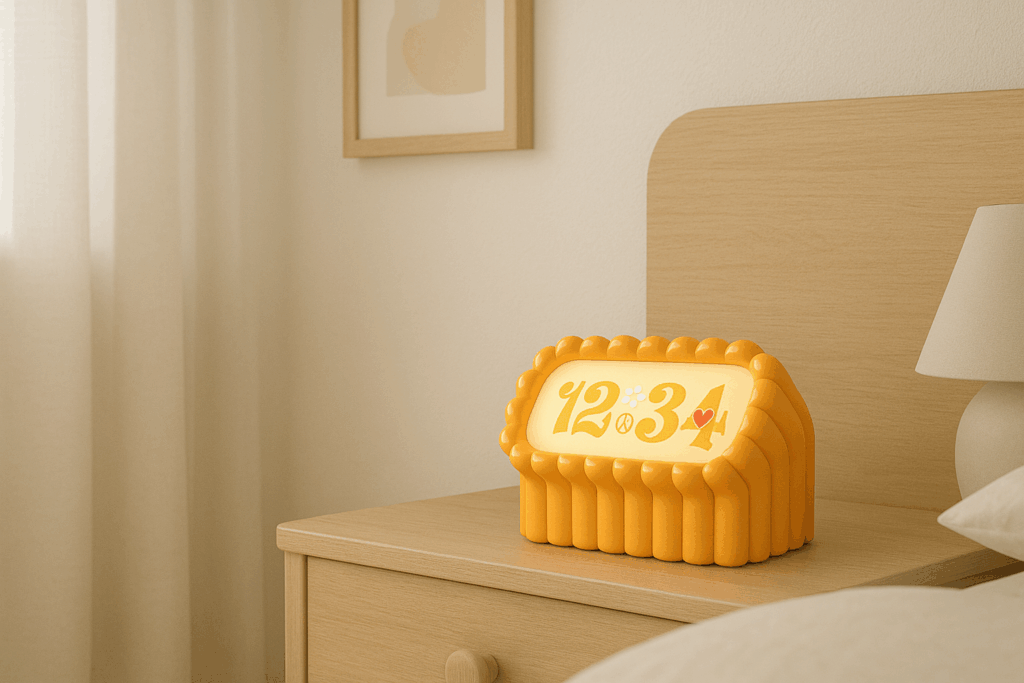
I liked the option 3 the best, so I did a full render for it. Here’s how it came out. Go ahead and give it a spin!

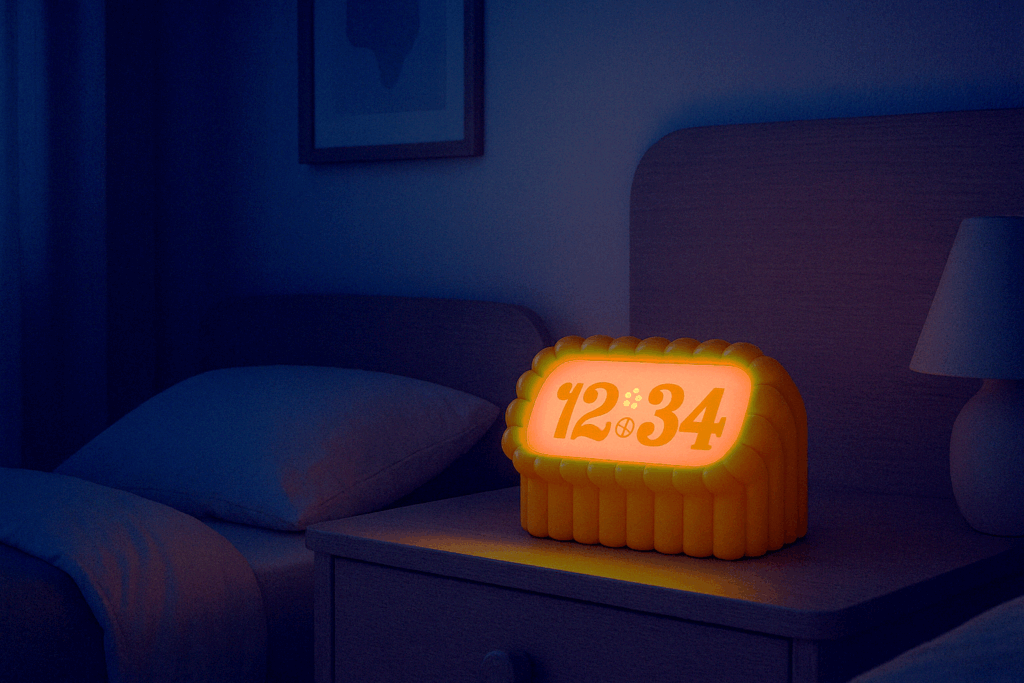
I also experimented a bit with using AI to render the alarm clock in a bedroom. I supplied my render of the alarm clock then described the rest of the scene. The results incorporate the clock surprisingly well.
It might be fun someday to try and get a full prototype of this up and running.
Corduroy Joy
This project was a joy to work on. Starting with a tiny scope, and a concise need was a comfortable place to start, and by the end I found myself wishing I could keep working on it. The positive feedback from my neighbor was a green light for more development. And his suggestions for other uses in the rental could justify making a whole bunch of objects in this style. My alarm clock idea supports another functionality for this fun design. Considering how simple the CAD workflow was for this project, more is sure to come.
That’s all for now!