This spring I dabbled in Ikebana: the traditional Japanese art of flower arranging. In addition to learning the basic principles, I also designed my own vases. Follow along as I share my design journey and stick around until the end to see my floral arrangements.
Spring is the Time for Flowers
Spring is the time for yard work, and work… has a way of finding me. I had agreed to help my widowed neighbor prune her trees (when she mentioned that her late husband used to do it, my heart just about broke). While taking a break from sawing and chopping, I noticed flower buds on a few branches. I brought cuttings to her and explained that if she brought them into her house and put them in water they would soon bloom. As so often happened in Sweden, something was lost in translation. She didn’t quite get what I was saying; A demonstration was in order.
I brought some cuttings home and threw them in an old jar with water. By the next day the flower buds had started to open. While the trees outside wouldn’t bloom for 2 more weeks, there were fresh flowers in my kitchen.

Tree blossoms in an old olive jar.
I remarked to my wife that I’d never seen a bouquet of tree blossoms before. She added that it reminded her of Ikebana, something I’d never heard of. My curiosity was piqued and after a bit of research into Ikebana, I knew I had to try it.
Designing the Vase
In Ikebana, the botanicals are held upright, as if floating. This is usually done with a puck-shaped device called a kenzan. With a kensan doing the heavy lifting, the vase can take on just about any shape, as long as it holds water. The perfect candidate for a design project.
To narrow things back down again, I picket out some key guidelines for my design:
- Minimalism
A departure from Western floristry, in Ikebana, minimalism and the use of negative space are encouraged. - Hard Angles
My designs are often rounded and smooth. For this project I pushed myself to integrate more corners and straight lines. - Concrete
No paint or coatings, the design would be concrete forward.
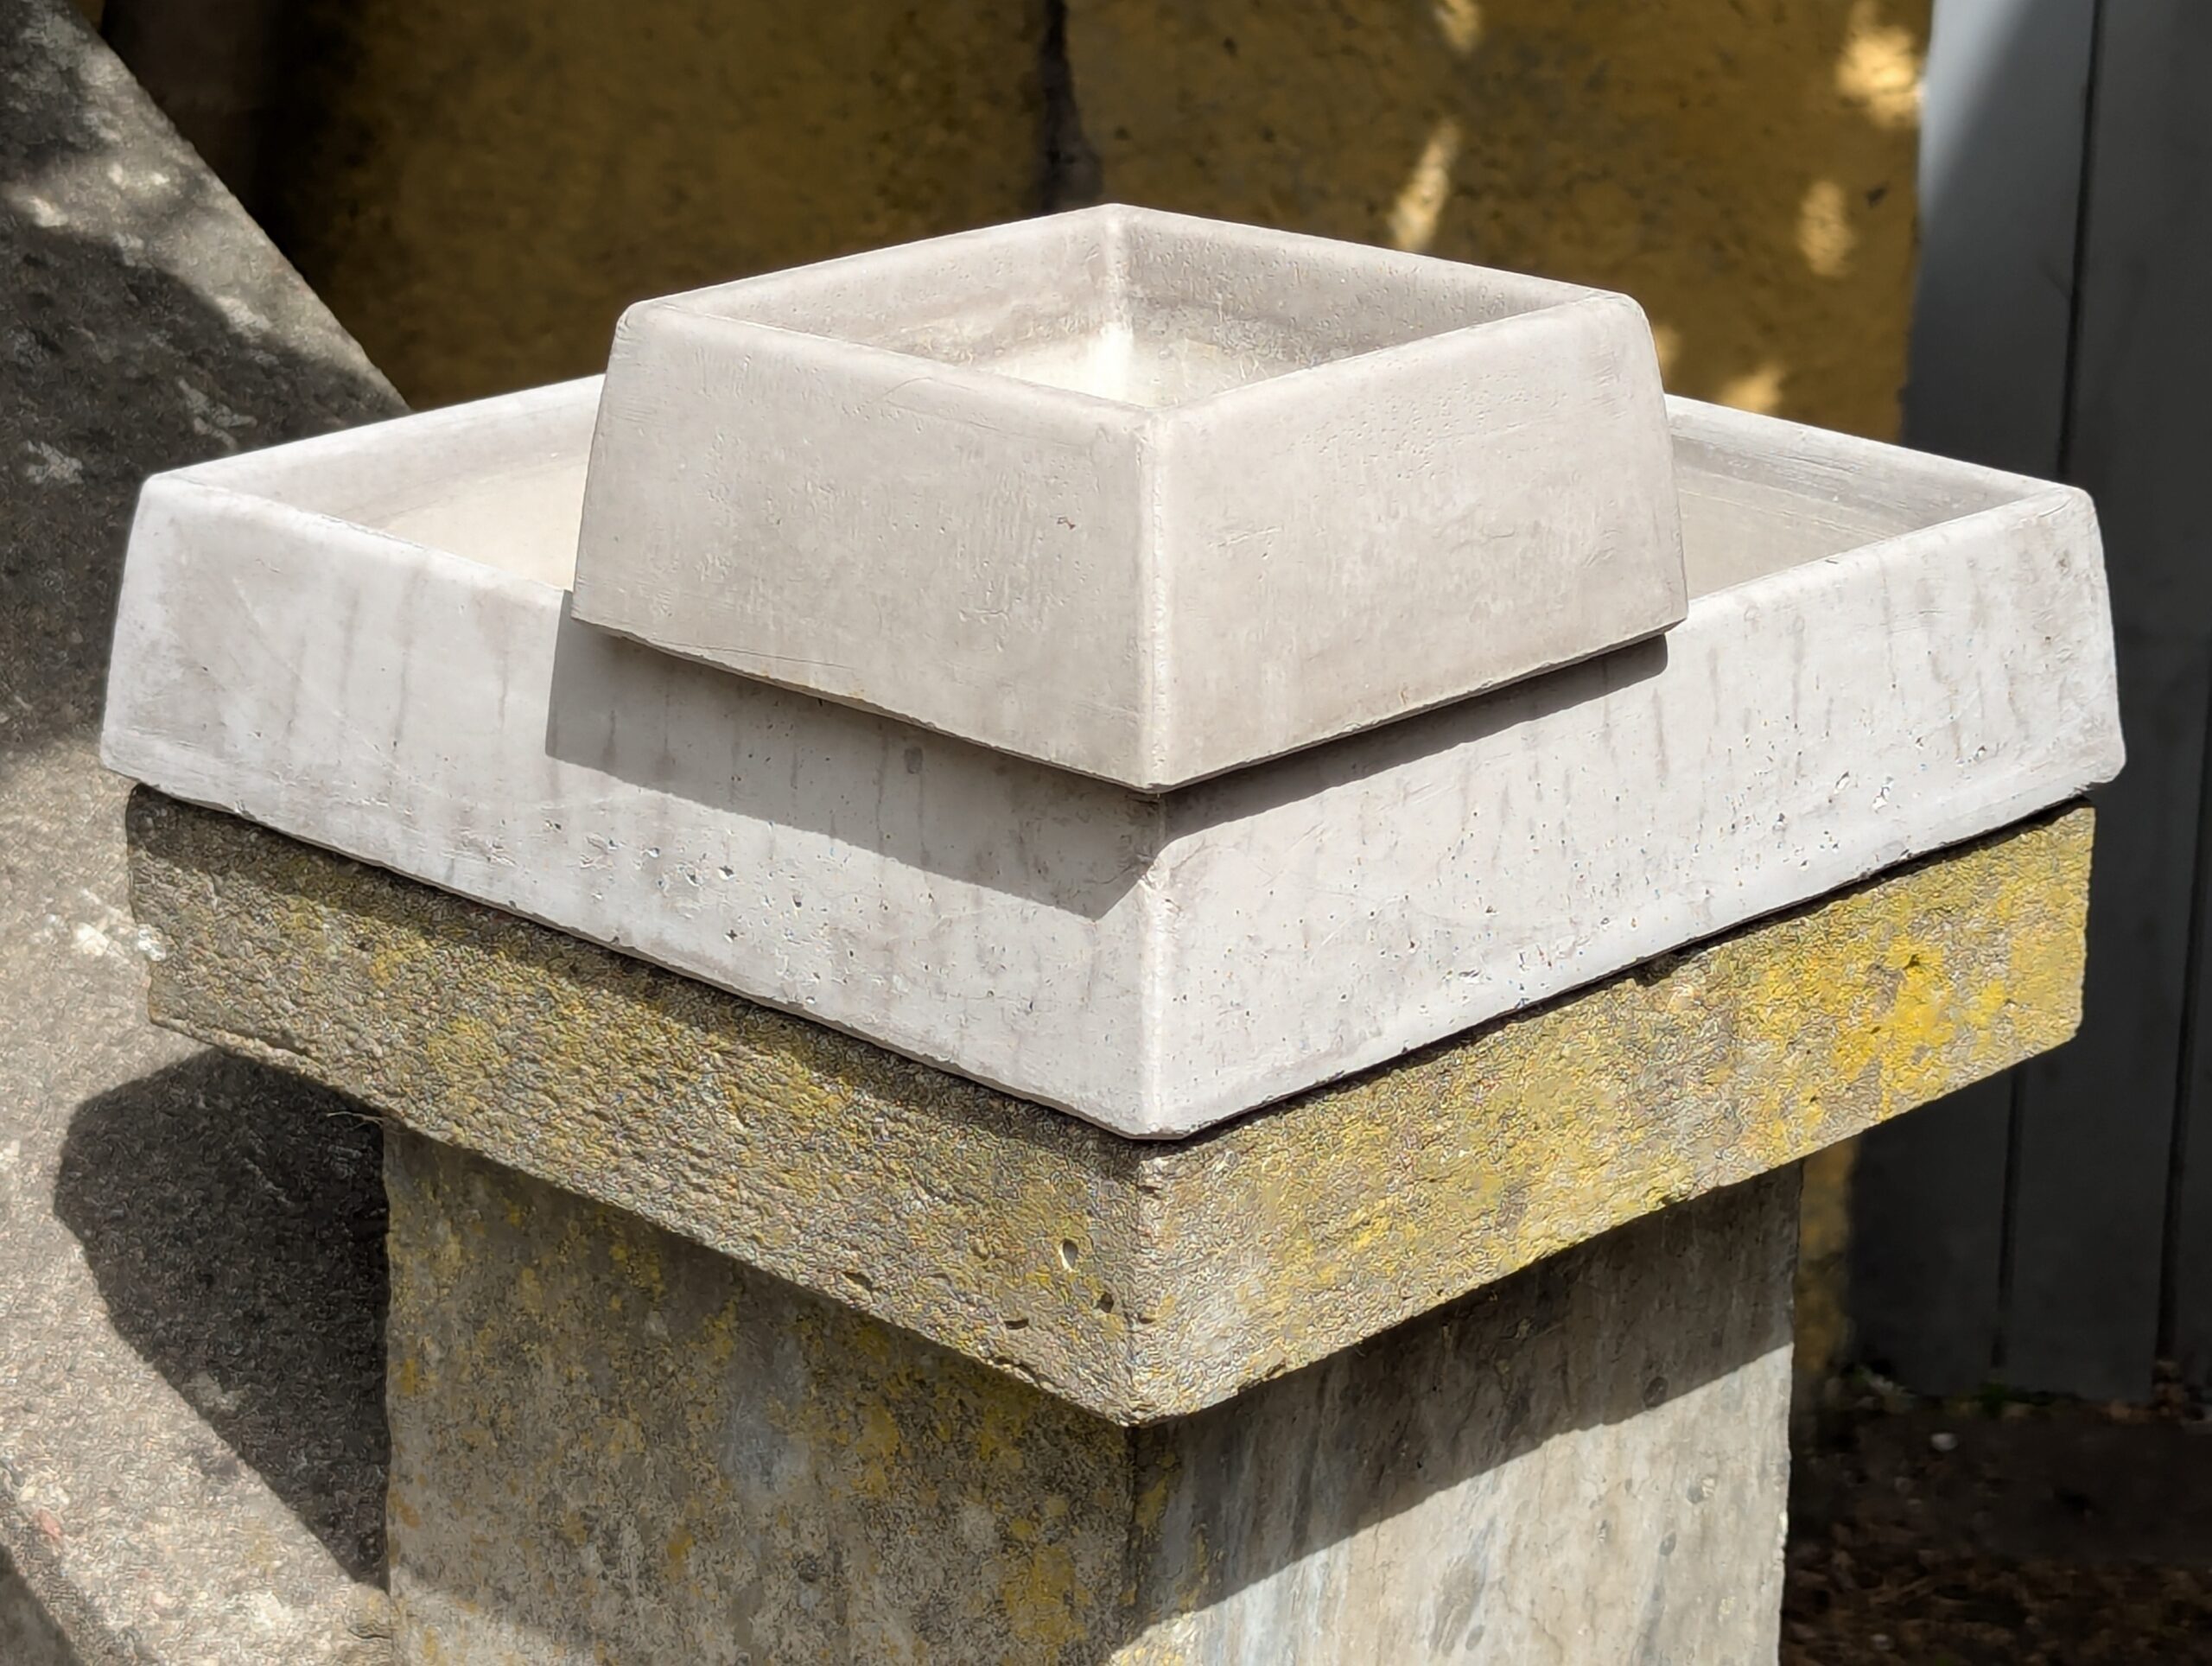
With that in mind, here’s the collection of vases I came up with:


Assorted renders of my Ikebana vases.
Armed with the basics of cement casting from my last project, I set out to design molds. While a 1-piece mold would technically have worked, I went with a 5-piece mold in order to make de-molding easier. In the future it might be interesting to try a 1-piece mold using silicone.
A short video showing the 5-part mold for the smallest vase.

A draft angle analysis of the small vase’s mold core.
Making the Vases
After 3D printing the molds I smoothed the inner surfaces with a few rounds of filler and sanding, and then I finished it off with a few rounds of primer and sanding. It was a lot of sanding, but in end it was worth it. The molding surfaces were glossy smooth.
Casting was a simple matter of greasing the mold and pouring in concrete. But what concrete to use? I experimented with a few different recipes.
The first recipe I tried was a mixture of black paint and a Portland cement grout. initially, I replaced only 12% of the mix water with paint, following this study, but after seeing how little of the paint’s color came through, I added much more. I then attempted to de-mold this vase after only a day of curing time and it cracked in half. I think the paint had slowed the curing time of the cement considerably, if not wakening the concrete outright.
I also tried a specialty waterproof polymerized cement grout. This product cured well, but after a few weeks in the sun I noticed hairline cracks forming around the parting lines. There was also a fair amount of chipping occurring along the bottom edge of the vase, so I manually chiselled a chamfer into the bottom of this vase and all later ones too.
Generic Portland cement grout produced similar results as above, complete with hairline cracks. The one thing I didn’t try was fiber reinforced cement, which would have helped manage cracking.
The more casting I do the more ideas I want to try.


Assorted images from the casting process.
Playing With Flowers

Materials collected for my first Ikebana arrangement.
After a lot of work it was finally time to play with flowers. Ikebana has a different rhythm than western floristry. Negative space is encouraged, and cutting back is part of the process. Removing blooms felt wrong at first, but I trusted the process. While I still have a lot to learn, I’m happy with the results.


Images of my Ikebana first and second arrangements (left and right respectively).